Wednesday, 24 April 2013

Loveable Livable Trends: Patterned Cement Tile

One of my favorite new ideas is actually a very old idea. Think ancient Moroccan: vibrant colours, elaborate scroll work and patterned tile. Lately, patterned cement tiles are making somewhat of a resurgence and their addition to sparse, modern interiors is, in my mind, a very welcome one.
I am so coveting this bathroom!
Elegant Tiled Hallway

Such a fun space!

I think this image is supposed to be about the couch (which is gorgeous!), but those floors!!!!

I have a confession to make. I (yes, even I) sometimes grow weary of pure, white, minimalist, modernism with its horizontal lines, right angles and no pattern. Don't get me wrong, I'm still a modernist who is allergic to nicknacks and clutter. Its just that sometimes a little character and pattern are a refreshing addition to the modern asthetic.
Blue and White Delight

Great Dining Space

Fantastic White and Black Entry

Another great take on black and white.

Tiny but well appointed kitchen.
Wowza!

There is something about pristine white walls juxtaposed against the chaotic pattern of the concrete tile that is just so right. I love it! If I had the right space, I would totally do this. How about you? What do you think of this trend??


Friday, 12 April 2013

Places & Spaces: Fireplaces

One of my very favorites, probably cause I like concrete so much...
Okay, I know its spring and this is more of a fall/winter post really, but I wanted to showcase some of my favorite fireplace ideas. This came to mind, really for my mom (love you mom) who is looking to install a fireplace and wanted some ideas and visual inspirations. So I thought it would be fun to share some of my favorite fireplace finds from over the years. Without further ado, here they are:
Tiled Kitchen Fireplace
Bohiemian Bliss
Pod fireplaces give me rainbows in my heart (also digging the rope chair)!
An old fashioned cozy brick fireplace with the most wonderful thing I have ever seen directly below
Simple and Fabulous
Black Brick and Wood Fireplace
Lovely Outdoor White and Concrete Fireplace

http://www.turkey-furniture.net/wp-content/uploads/2012/10/Decorating-Tips-for-Fireplace-Mantels21.jpg
Nice Style
Modern Stable Conversion
This metal bench/firewood holder attached to a wood burning stove is perfection (along with the metal shelving)!
Okay, at some point someone should stop me, cause this is getting to be a BIG post. But I can't help it, it's just so fun! Guess I will just overwhelm you with options, hope you don't mind.
Contemporary Home Stylish Home in Stockholm: The True Exposure of a Masculine Personality
Black Fireplace with Elongated Concrete Hearth
Mod Round Theme
Love this metal and brick fireplace!
White and Woody and Concrete!
Nice Concrete Fireplace
Elegant Concrete Option
Modern, Elegant and Simple Fireplace
Not a fan of the stucco, but love the modern simplicity, off centred-ness and the long, floating hearth
White and Bright Fireplace
A fireplace under the stairs? Not a bad idea...
Nice white brick fireplace with off centre firewood niche

Saturday, 6 April 2013

DIY: Reusing your old candles

So you know when you are finished using a candle and there is still a little wax left at the bottom, but you just can't throw it out? This is a problem for someone like me who is ridiculously OCD about finishing things. Also if it is a scent you really love, it might make it even more difficult to throw that candle away. Well, guess what? You don't have to. I'm going to show you how easy it is to use up that left over wax and make new candles.

I have these candles that were not very well designed, shape-wise. As you can see they just melted down the center, creating a puddle of wax because they are so narrow. But, because I like the scent I haven't thrown them away. So I'm going to use them for this project. However, this project will also work well with little bits of wax left at the bottom of an old candle, you just make layers of different scents one at a time, allowing each layer to cool before pouring in the next. The trick is to not mix different kinds of wax or scents that aren't cohesive.
All you need to start is: 1) left over candle wax, duh; 2) candle wicks (which you can pick up at any craft supply store); 3) masking tape; 4) a clean glass or ceramic container to put the new candle into; 4) a couple of pots.
 I actually picked up wicks larger then I needed because I originally planned to put the wax in mason jars. (How cute would that have been!?!) Unfortunately I got a little over zealous in my kitchen purge/reorganization and seem to have gotten rid of them. But that's okay cause I have these cute little Japanese bowls that will suit my purposes just fine. Really, you can use any kind of glass container you like, time to get creative!

Step 1: Fill a large pot with about 1-2 inches of water and heat to a simmer. Set a smaller pot inside the larger one, making sure not to let any water get into the smaller pot. Ensure the smaller pot is large enough to hold the amount of wax you want to reuse.

Step 2: Remove any stickers or tags from your candle and place your candle wax inside the smaller pot. (If you are using multiple candles with different scents, only melt one at a time and let harden in your jar before adding the next layer.) Don't forget that if you are using wax from multiple candles to make sure they are the same type of wax. You cannot mix paraffin with soy wax or beeswax for example.

Step 3: Once the wax is melted, carefully fish out any charred bits and old wicks with a fork or spoon.

Step 4: Place your new wick in the center of your jar and carefully pour a small amount of wax in the bottom. Pour just enough wax to hold the wick in place and let harden. (I poured the wax into the jar over the kitchen sink with old newspaper in the sink to catch any wax drips, otherwise it can create quite the mess.)
 Step 5: With your masking tape, make and X and tear a hole in the centre of each piece of tape. This is to hold your wick in the centre, so it won't move around as you pour in the rest of the wax.
Step 6: Carefully pour the rest of the wax from the small pot into your jar/container, filling to about 1/4 inch from the top.

 Step 7: Let your new candle harden and then cut the wick so about 1/2 inch sticks out from the top.
Step 8: Enjoy your new candles! I ended up getting 5 candles out of those two large candles! Awesome! Next time I think it would be fun to do this with beeswax.

Wednesday, 3 April 2013

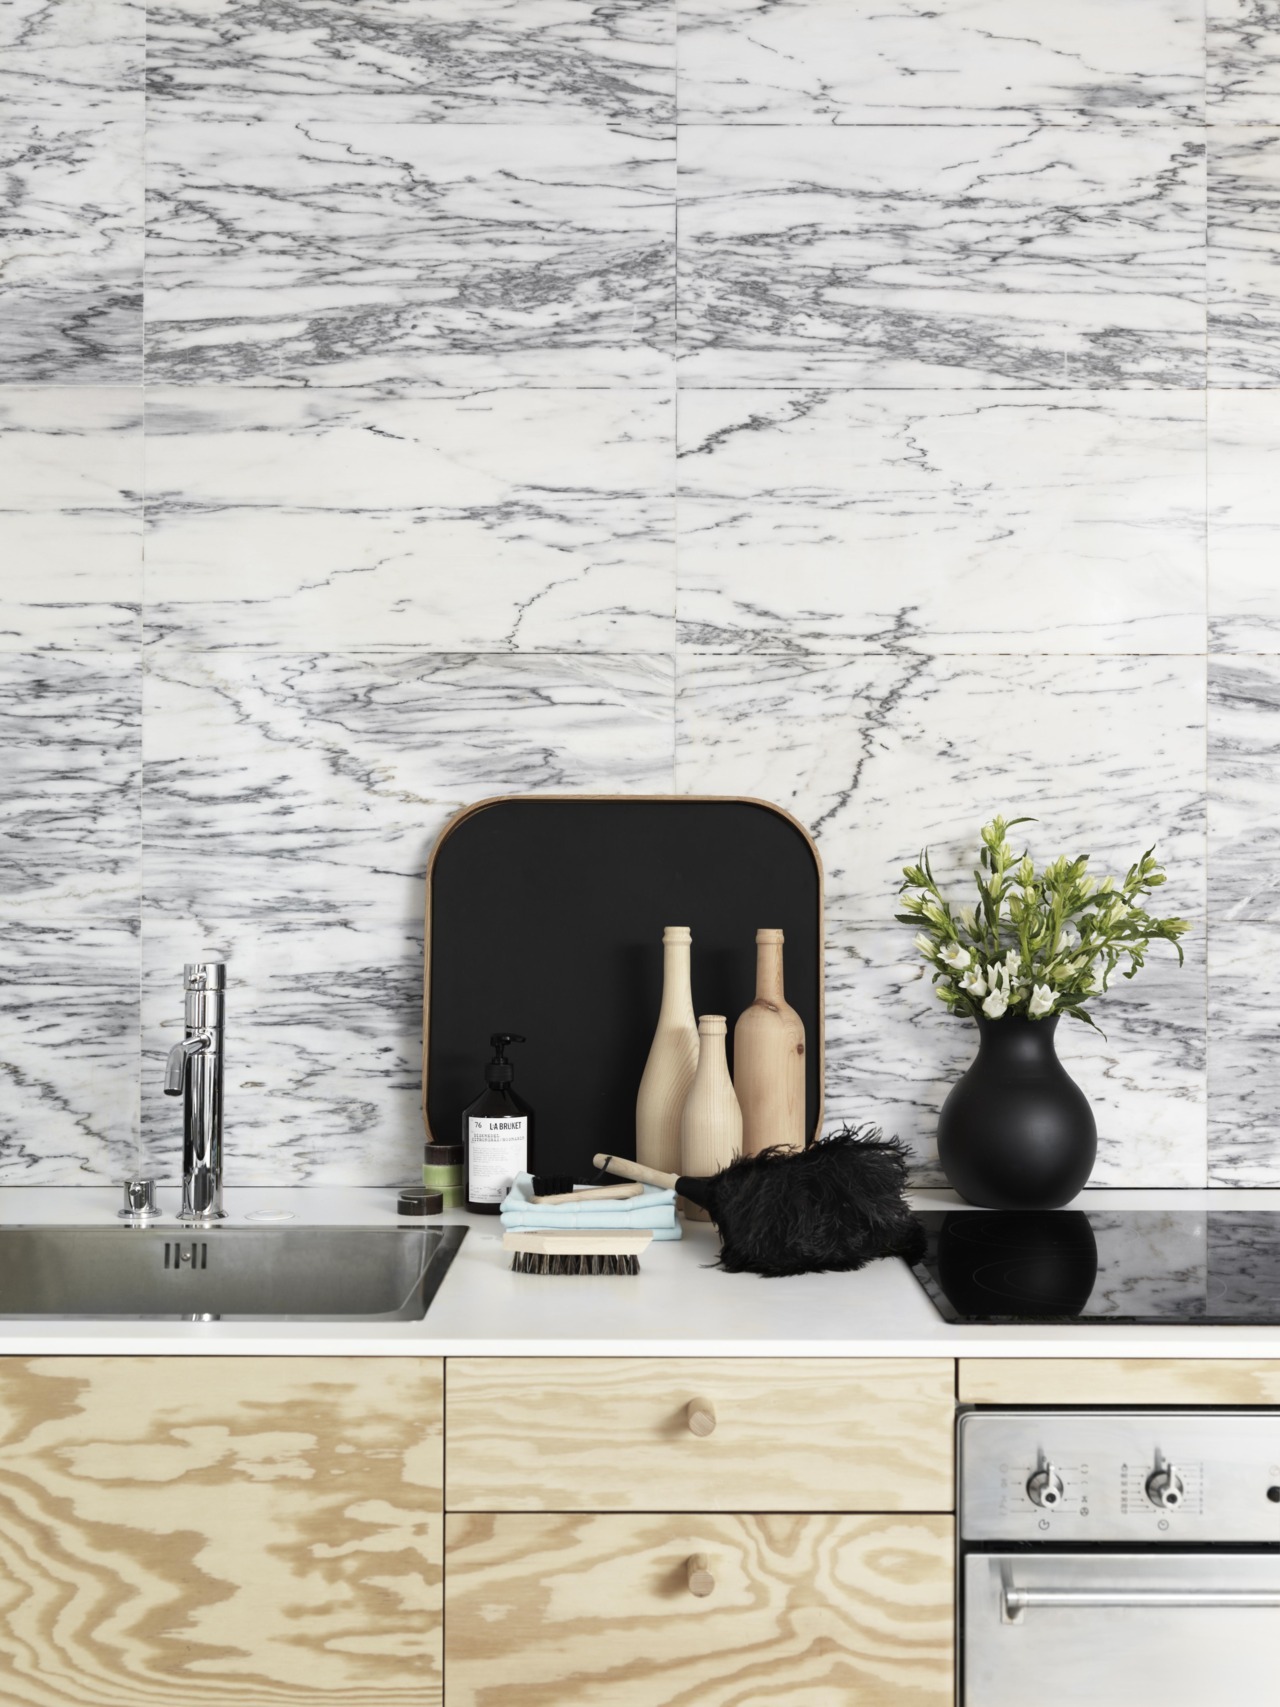
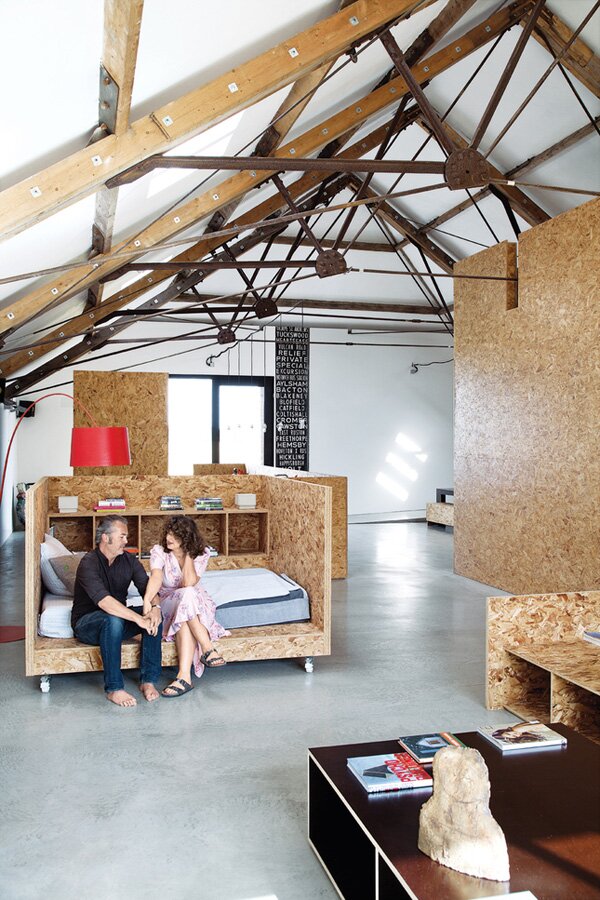
Loveable Livable Trends: Plywood/Chipboard

Plywood Cabin Interior
As in my previous trend post, I must reiterate that I am not a fan of "trends" and don't recommend following them just because it's the latest thing. This is true especially in the design world, where following trends would become an expensive hobby very fast. Not to mention that the idea of trends feeds into our already rabidly consumerist driven society. However, this does not mean that I don't try to keep up with what is happening in the design world - because I absolutely do. And when there is a trend that I think is interesting, innovative and has major staying power, that's when I'll share it with you.
Chipboard Stairs
Plywood and other raw wood products such as chipboard have been trending as a finish to everything from furniture to taking the place of drywall on walls for a while now and I see no signs of this trend slowing down.
All Plywood Stairwell
I love this look for its raw, deconstructionist look. I also love that it is a statement about how beautiful frugality can be and that we don't always need to use the most expensive, current materials to make a space look beautiful and function durably. 
Plywood Ceiling, Upcycled Cabel Reels as Table and Crates as Shelving
Plywood and Concrete
Textural Repetition
OSB
Awesome Plywood Shelving
Do you have a favorite trend or design element? Would love to here your feedback!

Tuesday, 26 March 2013

DIY: Kitchen Organization

Cute Martha Stewart labels with hand stamped letters
Spring is here (sort of) and I know I'm not the only one doing a little spring cleaning and clearing out of clutter. I don't know why, but it feels so great to purge my house of all the things I no longer use or need. Along with the purging, it felt necessary to reorganize the very limited space in my small kitchen. Those of you with limited storage will know what I'm talking about; it feels like I'm always re-working my storage to try and make everything fit and function. So, I thought I'd share a few new strategies to try and wrangle all of that kitchen clutter:
My first idea was to dedicate a space to create a beverage station. I used to have all my teas, drink mixes, coffee, etc. literally stuffed into the spice drawer and overflowing into random other locations throughout the kitchen. The drawer that is now dedicated to beverage storage was previously a drawer for all my many random kitchen utensils. I purged out all the utensils that I never use and the rest fit into a beautiful antique jug that was my grandmother's. I'd been looking for a way to utilize the jug for a while and am thrilled it functions so nicely in it's little spot in the corner on my counter top.  
Now I have a drawer dedicated to my beverages and a drawer dedicated to spices! I still need to purge the old and unused spices. But in the mean time I'm just happy to have a place for everything and everything in its place.
My spice drawer, currently overflowing with spices. How on earth did I also fit my teas in here???
My new tea/beverage drawer!
Not having teas, coffee, cocoa, etc. scattered throughout my kitchen created space for a cubby for my cookbooks, coffee press + all my cocktail making utensils.
As in many small kitchens, we also have very limited pantry space and thus have decided to dedicated a few drawers in the main kitchen cabinetry to canned goods that were previously difficult to find and sort through. As a bonus, I think they look pretty sitting on the shelf and add a splash of colour to my white kitchen.
Lastly, (and btw I can't entirely take credit for this part since my hubby found the jars) we bought a bunch of glass jars with steel lids for like $2 each from the dollar store! We use them to store everything from flour to pasta. I found cute labels from the new Martha Stewart line available at Staples to label each container. Then I hand stamped them for an extra fun touch.
Don't forget to cut out the expiry date from the original packaging and tape it to the bottom of the container.
I know, I'm such a geek for getting such joy from this, but I can't help it. Hope you enjoy it too and get some ideas for your next spring cleaning project!